Saturday, February 23, 2008

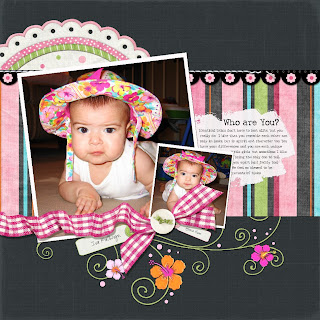
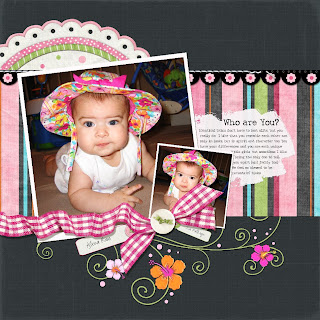
Who Are You?

Bet you can't tell that this was a 3 nighter LO - yep, that's how long this one took. I found this great LO to scraplift and first tried to create the whole look from scratch. My scalloped edge action from Atomic Cupcake wasn't working right, so I spent a long time trying to find scalloped templates, and even after I bought some they didn't give me the look I wanted - so in the end I bought the Happily Ever After kit and it is quite fun.

So on day two I customized the striped paper to make it coordinate better with the hats, modified the border and the scalloped circle - just to go back to the original in the end - and spents hours trying to create flowers to go on the swirly. The kit came with flowers, but they just weren't tropical enough. I ran actions galore on some flower shapes that came with PSE, and finally created some that were passable, but I still wasn't pleased, they just looked normal, not like the tropical flowers on the hats.

So the search for custom shapes to download started and after much hunting I finally found some, then struggled to get them copied to the right folders. I think I did have it figured out, but didn't know it as the shapes are not in the shape menu but in the Artwork & Effects. I finally ended up using Graffi's Add-o-Matic, and for once it actually worked properly, which is how I discovered that I did have them in the right spot, but wasn't looking for them in the right place once I opened the program. So once I found a flower I liked and cut it apart to be able to create a 3D look, I ran some actions and put it all back together with drop shadows and the final result is more of what I was after.

I also played around with the texturizer and learned that you can create different layers in the filters area - now I'm starting to understand a little more about how the designers play around with the filters, the blending modes & brushes to make some of their papers. But I think the whole following a path that photoshop has would be critical. So for now I'll create a solid color background paper and leave the rest up to the "professionals". I might have to invest in some paper textures from ScrapGirls though. I did find the notepaper texture and discovered that it will take the background color and use that for the notepaper texture which is nice
touch for something different than canvas or linen.

Then for a journaling block - ended up just using a preloaded shape in PSE - it's from the crop shapes, but I'm hoping it looks like paint.


Page Idea from Cherish These Moments by MizAmyLou at the digichick
Background Paper from Tomboy by Angie Briggs
Other Papers & Elements from Happily Ever After by Mary Fran and Kay Miller
Stitches by Natali
Flower Shape by Scrap Stew Sue
Actions - Enamel by Atomic Cupcake
Font - CK Ali's Writing, 2 Peas Hot Chocolate

read some lovely comments from Sue here
Sunday, February 17, 2008

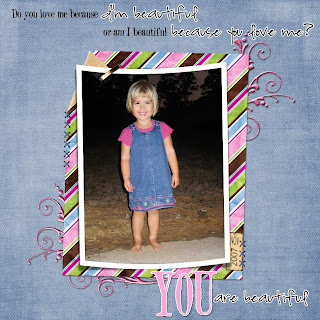
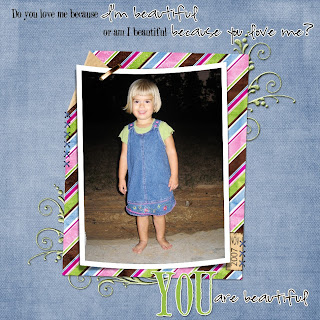
Beautiful

Plunking a photo down in the middle of the page still seems a little odd to me, but it works for this LO. Once again, I tried at least 20 different things for this one. I loved this picture when I took it - the girls were outside running around and the evening colors with their dresses just seemed to pop.

I'm learning how to use more of the built in stuff in PSE - that and with Atomic Cupcake's actions are making me attempt a bunch of different stuff before I'm satisfied. On this one I used stroke (for the letters), dodge (to make the corner fold) & soft light blending mode on the photo. I have loved the Emma kit since I found it back in Nov, but mostly I just used little embellishments I've collected along the way. I guess eventually I'll have to get the scanner going to make some of my own.


Page Idea from Do You Love Me by Kate Nakajima at the digichick
Striped Paper from Emma by Amy W
Photo Frame by Manu
Swirls by Fryske
Stitches by Jasmin-Olya
Staple from Serenity by KSharonK
Date Brushes by Misty Cato Designs
Actions - inked edge & velvet by Atomic Cupcake
Fonts - Highland Perk, 2 Peas Evergreen

Wednesday, February 13, 2008

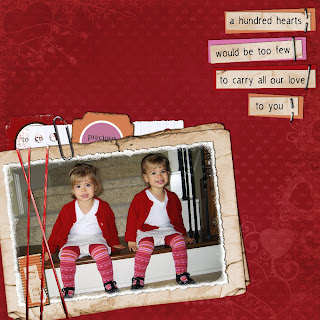
Valentine 2007

Once again, I struggled with this picture. I remember having to bribe them with going to the playground last year to get them to sit on the step (this year the bribe would have to be lots of chocolate). Their sweaters were just SO red and most of the Valentine's stuff I found was pink - so with a bit of recoloring and after a trial with a template that just didn't work I went searching for inspiration and found a page to "lift".

Played around with blending again - applied a soft light blend to the photo to give it a bit more pop. Glue seems to be popping up on LOs these days so I was able to recreate that - its just a tiny detail on the date tag, but now I should be able to repeat that again. I made quite a few of my own elements - see all the actions I ran. I'm figuring out more about brushes and while I didn't use any in the end I think I know now how some papers are created. Still lots to learn there though and I really don't have to be a designer anyway.


From this blog post forward I will just be pointing you to the designer - it was taking a bit of time to dig down to the exact item and I don't know that anyone is using the links anyway.

Page Idea from Warning by nikkiARNGwife at the digichick
Background paper from Love Always by Franzika
Frame from Serenity by KSharonKDesigns
Notepaper from Pink by KSharonKDesigns
Rubberband by Amanda Kay
Staple from Funky Stars by Flerg's
Actions - inked edge, epoxy, sanded edge, ink & tear, rub on by Atomic Cupcake
Font - Social Animal, Minion Pro, Sleep Talk

Thursday, February 7, 2008

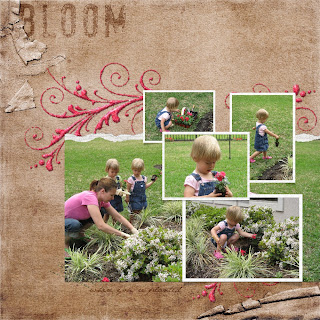
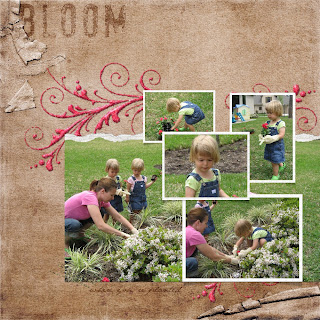
Bloom

I'm quite happy with this LO. I found this template a few days ago and it just seemed perfect for this theme. It was actually harder than I thought to find 5 different picture of the girls from this day, but it's nice to only have one of them together and lots of individual ones - its rare that I have that in photos.

I played around with some blending modes on this one with the title and I really like how that turned out - I ended up using soft light at 100%. I even used the eraser tool today for the 1st time to erase part of the letter B - it's supposed to look like it was there before the paper was sanded. I darkened the background paper just a tad using color variations instead of Hue/Saturation and got just the right color. The color of the glitter is supposed to bring out the color of the vinca.


Template from Template Challenge 2 by Fryske
Paper & stitching from Harvest Spice by Shabby Princess
Actions - glitter by Atomic Cupcake
Fonts - Jane Austen, Social Animal

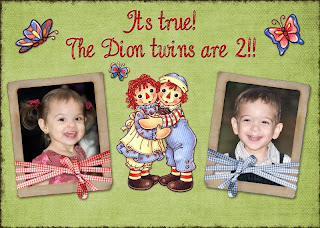
Birthday Invite for Friend

I've tossed around the idea of going into the card making business, but I don't think it would be as enjoyable as just doing it as a gift for my friends. So here is my latest little gift - a sweet birthday invite for some very sweet little twins.


Paper from Chocolate Berry by Flerg's
Ribbon Frame from Emma by Amy W
Ribbon from Dear Santa by Karen Lewis
Actions - inked edge, painted metal by Atomic Cupcake

Monday, February 4, 2008

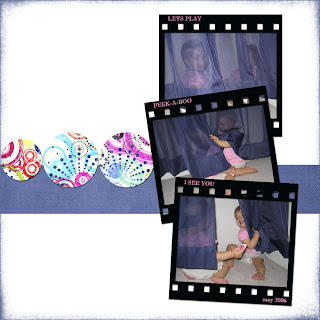
Peek-A-Boo

I guess one shouldn't really admit when they've done something that looks so simple that they actually make it quite difficult - but that's exactly what I did. As I was once again struggling with this LO I was reading through some other blogs and there was someone applying for a CT who said it normally took her 1/2 to 2 hrs per LO - I'm probably still at 4-6 hrs and that's with digital - it took me so much longer with paper that its a good thing I switched.

I knew I wanted to do the flim strips and once again there they were just sitting in there in PSE. I really wanted the text on the strip to stand out as the title, but it's hard since it's so tiny - but I'm sure it will look bigger printed out 12x12. Then what to do with the background - there was already so much blue in the photos and pink once again just wasn't right - so what's the solution - WHITE - at least I learned that the other day. I found the funky circle paper and tried a bunch of different things with that, piddled around with some glitter, all kinds of things before settling on the 3 simple circles and the rectangle of blue - looks like it should have taken all of 10 minutes to do this LO - not two nights.


Paper from Kaylabugs by Raspberry Road Designs
Action - inked edge by Atomic Cupcake
Fonts - Imprint MT Shadow, Suzie's Hand

Saturday, February 2, 2008

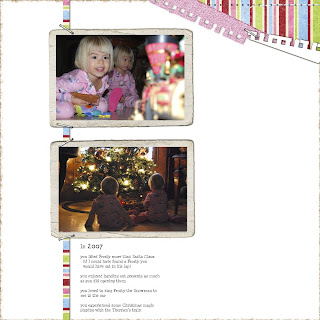
Christmas 2007 Things of Note

Aaaah - this page took so much effort - so hard to tell when looking at the finished product. These pictures were taken in November and I started a LO back then because I liked them so much, but I wanted to use both pictures, but the colors don't really work together, but changing them to B&W would have lost the mood I think. So I tried to create different backgrounds, browns, pinks, greens - and nothing seemed to work because the other picture is just so, well, brown. So I've worked on a few different days over the past months and would just close it back up when I couldn't figure something out. My husband looked at me like I had gone insane when I told him I was coming back up to work on a LO that was really giving me a hard time (like how in the world could that be that difficult).

Then I struggled with a LO for two pictures that I wanted to be relatively the same size - no embellishment seemed to go with trains - certainly not flowers and it wasn't really too Christmasy so snowflakes didn't seem right either.

Fortunately, on yesterday's freebie blog there was a challenge from Little Dreamer Designs - a color challenge focusing on white - and so viola, the background sorta came to be - but all white didn't work either, so lots of experimentation with different overlays and actions and nothing seemed right. Then I remembered seeing this corner detail on one of Flerg's page - I don't know if was a template or her own design, but with a little trial & error I was able to duplicate it and I think it turned out cute and added just enough color - even though there is no way that you could fold the corner back and have those notebook edges in real life, its still a nice effect.

Then what about borders for pictures - the vintage look is in right now and did you know that these picture frames are right there in PSE5 for you to just add!? I find something new everyday now in this program. I also was able to lighten the bottom picture by adding the "screen" blend mode. Still not for sure what it does, but it made the picture look better.

The journaling was fun - the girls just loved Frosty this year - I really think because they learned first that he sang instead of Santa Claus. So it was nice to have a place to record some of the neat things they thought about Christmas this year.


Paper from Dear Santa by Karen Lewis
Notebook paper (used as a template for corner) from Express Yourself by Ronna Penner
Stitching by Natali
Actions - inked edge by Atomic Cupcake
Font - Minya nouvelle

Friday, February 1, 2008

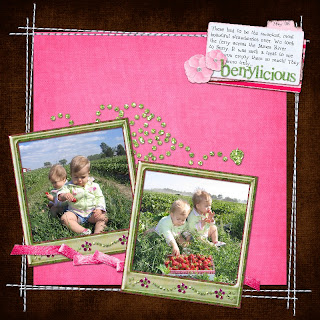
Berrylicious

I don't know that I really did these pictures justice, I couldn't get one to show the juice running down the girl's faces, but I like the LO anyway. It is a scraplift from a page that Megan Farrow (aka Flerg's) did. I piddled around with a bunch of different stuff, but most exciting is that I finally used a brush and actually created the "bling" myself with the help of Flerg's glitter styles. Now that I've figured that little bit of magic out I'll have to see what else I can do with it. Also, another big thanks to Atomic Cupcake, her actions are just amazing and so cool (how about those glass frames!?).


Papers, ribbon & flowers from Strawberry Cake by Amanda Kay
Background paper from Deacon's Closet by Flerg's
Alpha - Glitz Alphas by Vicki Stegall
Layer Styles - Glitter by Flerg's
Stitching by Natali
Actions - inked edge, colored glass by Atomic Cupcake
Font - 2Peas Flea Market